How to Merge Email Accounts in Gmail
Gmail represents a powerful way to merge your email accounts and work productively from the same inbox. Not only can you receive emails in the same inbox, but you can also send emails from different addresses.
If you’re like the typical Gmail user, you’ll likely have multiple accounts that you’ll need to use daily, weekly, or monthly. You might have one account for personal emails, another for team management, and maybe another for work-related emails.
Switching manually between these accounts to check your inboxes costs you time and energy that could be better spent on more productive tasks. When managing multiple Gmail accounts, important emails can get lost, which upsets customers, clients, and colleagues.
Luckily, there is an answer – merge Gmail accounts. Gmail offers features that allow you to connect your different email accounts and manage them all from a single inbox. Think of all the time you would save by only needing to check one account.
The benefits of merging your Gmail accounts
Most professionals spend a large part of their day managing their emails, diverting their attention from other, more important tasks. Any strategy that can help them reduce the time it takes to check their email is a welcome solution, and that’s where merging email accounts in Gmail comes in handy.
- When you log into your primary Gmail account, you can see all of your email accounts displayed in the primary inbox.
- You only have to remember a single password for your primary email account and don’t have to log in and out of different accounts.
- You can search for any email within your primary inbox, no matter which account it was sent to, making it easier to find what you’re looking for.
- Setting up this merge once means you never have to do it again, and you’ll forever be on top of your emails.
- It’s possible to separate your individual inboxes so you can view mail from different accounts.
Manage multiple Gmail accounts in one inbox
Managing multiple Gmail accounts within a single inbox means you don’t have to check multiple separate inboxes to receive your email. You can receive emails from various addresses and send emails as your other email addresses while still logged into your primary account – more on this later.
You can take advantage of several important features when managing multiple Gmail accounts in one inbox, such as account linking, importing emails from non-Gmail accounts, and setting up multiple Gmail inboxes.
As you can probably tell, Gmail is a powerful email management system that takes you beyond simply sending and receiving emails from a single address. Become an email management powerhouse with Gmail and never lose another email again.
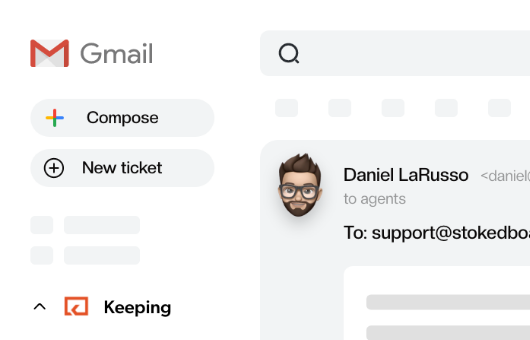
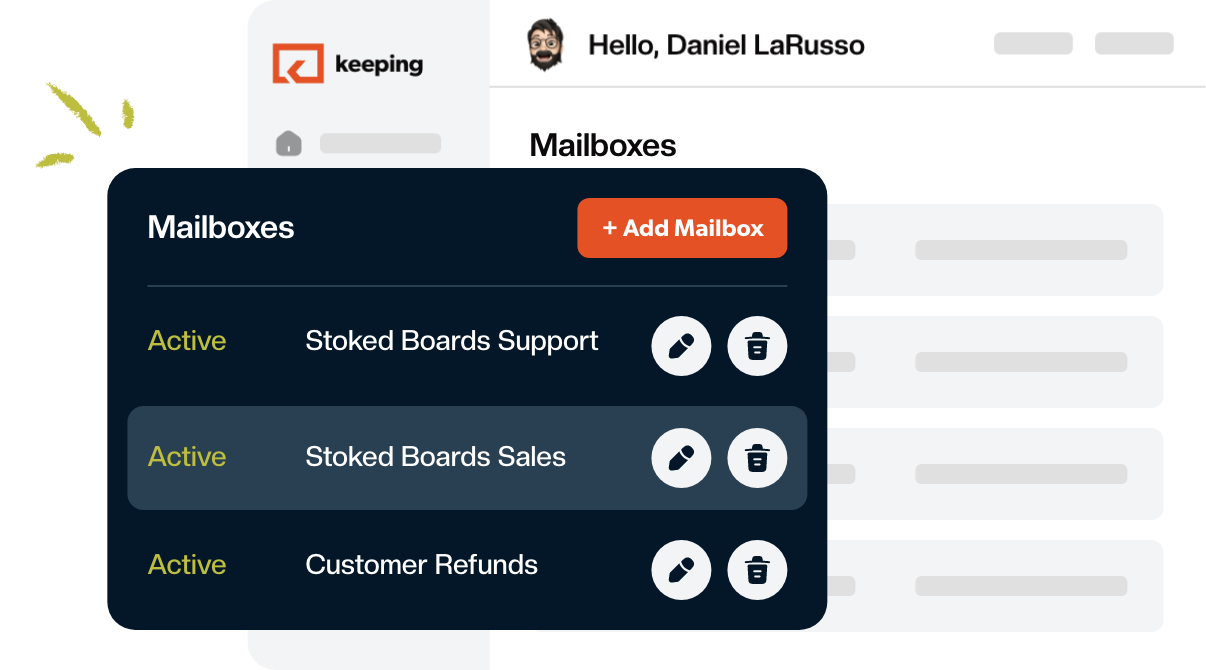
Why Merge? See How to Manage Multiple Mailboxes in Keeping
Set up multiple Gmail inboxes
When you’ve linked all your different Gmail accounts to your primary account, you can also program your primary inbox to display groups of emails for better productivity. The Gmail Multiple Inboxes feature is basically sub-inboxes that show up within your primary inbox and manage your multiple email accounts in separate categories.
So rather than seeing all of your different email accounts in one chronological flow, they will be displayed separately, and you can check each one at your convenience. This feature helps better manage your emails as you can see which ones you need to prioritize at a glance.
- Make sure you’ve already merged all of your email accounts
- Log into your account that will serve as your primary email inbox
- In the top right-hand corner of your inbox, click the “Settings” icon represented by a gear icon
- In the open pane, click “See all settings.”
- Click the third tab that comes up, called “Inbox.”
- Under the “Inbox type” dropdown that appears, select “Multiple Inboxes.”
- In the screen that opens, you’ll see “Multiple Inbox Sections,” where you can assign search queries to your inboxes
- If you like, choose a name for each of your inboxes
- Decide how many conversations you want to display in each inbox
- Decide where you want your multiple inboxes to be displayed
- When you’re finished, click “Save changes.”
When you’ve set up your multiple inboxes in Gmail, you’ll be able to see all the incoming mail for your separate accounts.
Setup account linking in Gmail
This procedure is followed by individuals who want to link multiple accounts from a single Gmail inbox. Once you’ve set it up, Gmail will offer a single account as the recipient for all emails from a range of Gmail accounts. Don’t forget, you can still log into your different accounts if you want to check them individually, and later we’ll show you how to respond to all your Gmail accounts from a single profile.
- Log into your account that you wish to become the primary account for your Gmail emails
- Navigate to the top right-hand corner of the window, and click on the “Settings” icon represented by a gear
- Click on “See all settings,” which will take you to a new window
- Navigate to the fourth tab from the left, which is called “Accounts and Import.”
- Find the “Send mail as:” section, and click on “Add another email address.”
- In the window that opens, enter the correct address, name, and email, then click “Next Step.”
- You will be taken to a window that prompts you to verify your secondary email address and enter the password
- Select your default way of replying
- In your email account you want to forward, navigate to “Settings” and then “Forwarding and POP/IMAP” > “Forwarding:
- Select “Add a forwarding address” and input your primary account’s Gmail address
- When you receive a confirmation code, copy and paste the confirmation code to authenticate your forwarding address
- Choose a forwarding option to set up your Gmail forwarding
Once you’ve set up your forwarding address, you’ll receive all emails to your primary Gmail account. This step prevents you from logging into separate Gmail accounts to check your email.
How to Send Email as Another Account
Not only do you want to check email from a single account, but you want to use your primary Gmail inbox to reply to emails as if from that separate mailbox. It doesn’t matter which provider you have used to set up your email because Gmail allows you to send emails from different accounts no matter which platform you use.
- Navigate to the gear icon on the top right-hand corner and click on “See all settings.”
- Select the” Accounts and Import” tab, which is the fourth from the left
- Scroll down to “Send Mail As” and click “Add Another Email Address.”
- Input your secondary email address, then change the displayed name and choose a different reply email address
- Gmail indicates that you need to confirm the secondary email address.
- In the window that opens, launch the verification message to the secondary email address and open it in your inbox
- Enter your confirmation code in the verification window that opens in Gmail, or click on the confirmation link in the email
- When Gmail asks you to confirm the email, click on “Confirm” to proceed, and Gmail will verify your email address
- Your primary Gmail account will be able to send email as the secondary email account and look as if it is coming from your secondary email
- You can go through the same steps to add all of the email addresses you wish to send from Gmail
- When you send a new email, you’ll be able to see a new “From” drop-down in the “Compose New Message” window from which you can choose any of your secondary email addresses
- Choose any address that you want to send email from the drop-down menu, and proceed as normal
Using this procedure, you can send an email as a secondary account from your primary Gmail inbox, removing the need to log into different accounts to correspond with other recipients.
Set a Default Send Mail As Address
Using your primary email address, there may come a time when you want to send an email from a different email account while still logged in to your Gmail. Perhaps you have a more professional account that you want to use to send emails, or you’re transitioning to a new email account.
With Gmail, this is not a problem. You can change your account to send email from a different Send Mail As setting in your Gmail account. Although you can change the sender email from the compose message window, it will save time if you can adjust the default setting.
- Click on the gear icon on the top right-hand side of the window and click on “See all settings.”
- Click the “Accounts and Import” tab, which is fourth from the left
- When the tab opens, you will find every single email address that you have added, which can send email from your Gmail account
- select “Make Default” next to the chosen email address that you have decided to make your default address
- Whenever you next compose a new email, your default Send Mail As address will be selected by default in the “From” field, so you don’t have to change a thing
Changing your default “From” address is a great way to save time when composing new emails.
Organize Email Sent to Different Addresses (using Gmail Filters)
When receiving many emails in the same inbox in Gmail, it’s hard to keep track of your priorities. You might want to highlight which emails were sent to particular addresses to grab your attention the next time you scan your inbox.
In Gmail, you can add different labels using filters to your emails to sort through them effectively.
- Click on the gear icon in the window’s top right corner and click on “See all settings.”
- In the window that opens, click on the “Filters and Blocked Addresses” tab, which is the fifth from the left
- Click on “Create a New Filter” at the bottom of the window pane that opens
- Now you can choose from different options for your filter, so navigate to the To field and enter your secondary email address, which you have forwarded to your primary Gmail account
- Now, click on “Create Filter” to open the next pane
- There are many ways that Gmail can handle your filtered message, so you need to decide how you want to sort your filtered message
- For example, you can read and archive your messages or star them as important
- In this case, we are going to ask Gmail to add a label to let us know which account the email was sent to
- Click on the “Apply the Label” checkbox and scroll through the up and down arrows next to “Choose label.”
- If you’ve not yet created a label to filter your forwarded messages from the secondary email address, click on “New Label.”
- In the new label popup that opens, you can input a new name for your label and click on “Create.”
- Finally, click “Create Filter,” which means every message sent to your secondary email address will have the new label applied.
Filtering your secondary emails in your primary Gmail inbox means you can quickly sort and organize your emails.
Wrapping up
Gmail represents a powerful way to merge your email accounts and work productively from the same inbox. It doesn’t matter how many addresses you have because you can bring them together within Gmail.
Not only can you receive emails in the same inbox, but you can also send emails from different addresses. It’s time to forget about logging into separate email accounts and managing them together within Gmail.
Celebrate all of the time you will save by managing all your email addresses within one account. Organize and categorize your emails, so nothing ever gets lost.
Join 150+ teams that are sharing inboxes with us
The easiest way to upgrade your shared Gmail account. There’s no credit card is required.
